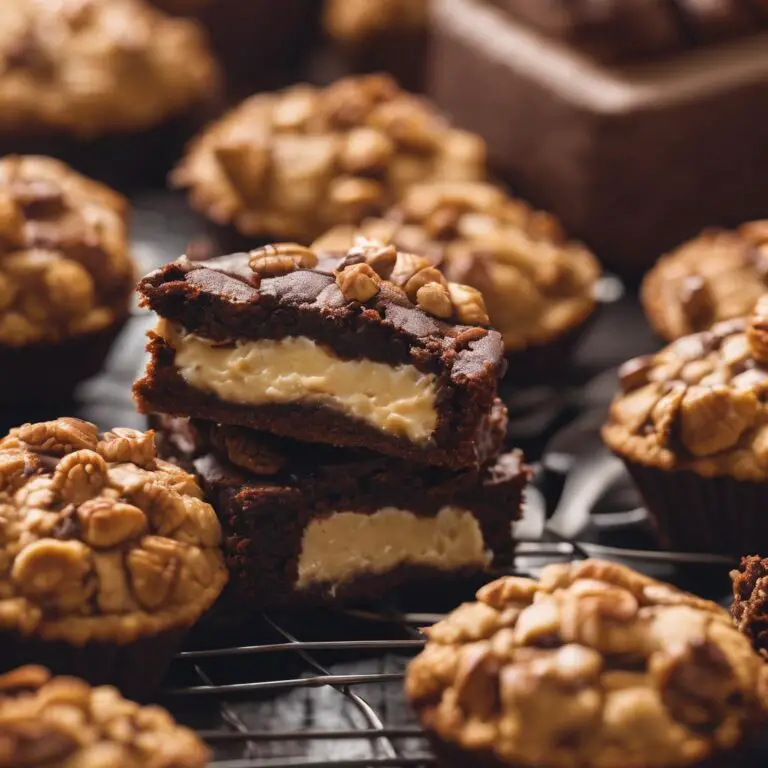
Cherry Chocolate Brownie: A Decadent and Fruity Twist on a Classic
This cherry chocolate brownie is a delightful twist on the classic brownie, combining the deep richness of dark chocolate with the tart freshness of cherries. The combination of the fudgy brownie base, slightly crunchy walnuts, and juicy cherries creates a dessert that’s both indulgent and refreshing. It’s perfect for when you want to elevate your regular brownie recipe with a burst of fruitiness, making it a great option for both casual and special occasions.
Why You’ll Love This Recipe
You’ll love this recipe for its rich chocolate flavor balanced perfectly by the tartness of cherries. The use of dark chocolate and butter gives the brownie a deep, fudgy texture, while the walnuts add a nice crunch (optional if you don’t have them on hand). The cherries on top provide a delightful contrast to the chocolate, adding bursts of fruity juiciness in every bite. Plus, it’s a simple recipe that doesn’t require any special ingredients, making it a great go-to for a quick yet impressive dessert.
Perfect Occasion
This cherry brownie is perfect for any occasion when you want to impress with minimal effort. It’s great for a weekend treat, a family dessert, or even to bring to a potluck or gathering. The richness of the brownie makes it ideal for cooler weather, while the cherries keep it feeling light enough for warmer days. Whether you’re baking for a birthday, holiday, or just because you’re craving something sweet, this brownie is sure to satisfy.
Decoration Tips
For a beautiful presentation, scatter the cherries generously over the top before baking. Once baked, you can dust the brownies with a light sprinkling of powdered sugar or cocoa powder to give them an elegant finish. If you want to take it up a notch, drizzle some melted dark chocolate over the cooled brownies for a professional look. You can also serve them with a scoop of vanilla ice cream on the side for an extra indulgent treat.
Ingredients:
- 3 eggs
- 160g granulated sugar (slightly less than 1 cup)
- 100g flour (slightly less than 1 cup)
- 130g butter
- 120g dark chocolate
- 5g vanilla powder (1 packet)
- ½ cup roughly chopped walnuts (optional)
- Fresh or frozen cherries (enough to generously cover the top)
Instructions:
- Melt the Chocolate and Butter:
In a saucepan, melt the butter over low heat. Once melted, remove the pan from the heat and add the dark chocolate, stirring until it’s fully melted and smooth. Allow this mixture to cool to room temperature before using. - Whisk the Eggs and Sugar:
In a large mixing bowl, whisk together the eggs and sugar until the mixture becomes pale and foamy. This step should take about 2 minutes with an electric mixer, depending on the speed. The goal is to get a light, airy texture. - Combine Wet and Dry Ingredients:
Slowly add the cooled chocolate-butter mixture to the egg-sugar mixture, stirring gently to combine. Sift in the flour and vanilla powder, then fold the ingredients together with a spatula until just combined. Finally, fold in the chopped walnuts if you’re using them. - Chill the Batter:
Since the batter will be quite runny, place it in the freezer for about 10 minutes to firm up slightly. This will prevent the cherries from sinking to the bottom during baking. - Prepare for Baking:
Preheat your oven to 170°C (340°F) with the fan setting on. Line a 20×20 cm baking dish (or a small oven dish) with parchment paper. Once the batter has firmed up slightly, pour it into the prepared pan and spread it out evenly. - Add the Cherries:
Scatter the cherries on top of the brownie batter, placing them randomly but generously. You can use fresh or frozen cherries—no need to thaw frozen cherries. - Bake:
Bake the brownies in the preheated oven for about 20 minutes. If you prefer a gooey, fudgy center, bake for 15 minutes; if you want a firmer, more set texture, bake for the full 20 minutes. The top should be set, and a toothpick inserted into the center should come out with a few moist crumbs (not wet batter). - Cool and Serve:
Once baked, let the brownies cool completely before cutting into squares. You can chill them for a firmer texture or enjoy them slightly warm for a gooey, chocolatey treat.
Enjoy!

