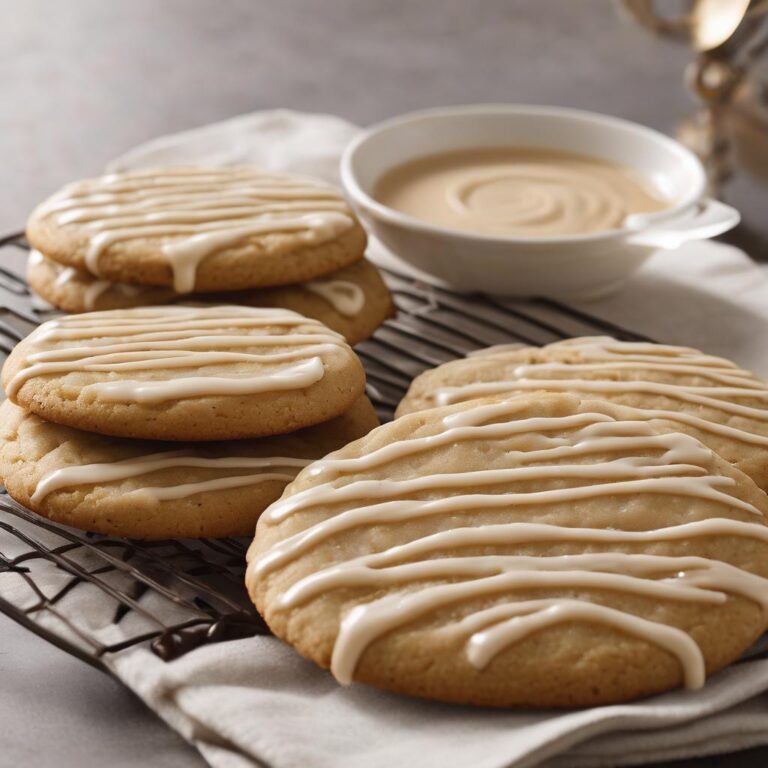
Chocolate Peanut Butter Button Cookies
These Chocolate Peanut Butter Button Cookies are a fun and delicious treat, combining the classic flavors of peanut butter and chocolate in a soft, chewy cookie. Shaped like buttons, these cookies are both playful and flavorful, making them perfect for any occasion. The rich, creamy peanut butter dough is complemented by a hint of cocoa, and the unique button design makes these cookies as fun to make as they are to eat!
Why You’ll Love This: You’ll love these cookies for their soft, chewy texture and the classic combination of chocolate and peanut butter. The button design adds a creative twist to these simple yet delicious cookies, making them a hit with both kids and adults alike. They’re easy to make, and the fun shape adds an extra element of enjoyment to the baking process.
Perfect Occasion: These Button Cookies are perfect for parties, baking with kids, or simply enjoying as a fun afternoon snack. Their cute and playful design makes them a great choice for themed events, holidays, or even as a homemade gift. Serve them with a glass of milk or hot chocolate for a comforting and delicious treat.
Decoration Tips: To make your cookies even more eye-catching, you can dust them with powdered sugar or drizzle melted chocolate over the top. For an extra festive look, you can color the button indent with icing or decorate the edges with sprinkles. You can also make the button holes larger for an even more pronounced button effect.
Ingredients:
- 113g (1/2 cup) butter, softened
- 3/4 cup (1.8 dl) creamy peanut butter
- 3/4 cup (1.8 dl) brown sugar
- 1/4 cup (0.6 dl) granulated sugar
- 1 tsp vanilla extract
- 1 egg
- 1 & 1/3 cups (3.2 dl) all-purpose flour
- 3/4 tsp baking soda
- 1/2 tsp baking powder
- 2-3 tbsp unsweetened cocoa powder
- 1 tbsp milk
Instructions:
- Preheat the Oven:
Preheat your oven to 350°F (175°C) and line a baking sheet with parchment paper. - Mix the Wet Ingredients:
In a large bowl, cream together the softened butter, peanut butter, brown sugar, and granulated sugar until light and fluffy (about 2-3 minutes). Add the vanilla extract and egg, and mix until fully combined. - Prepare the Dry Ingredients:
In a separate bowl, whisk together the flour, baking soda, and baking powder. - Combine the Dough:
Gradually add the dry mixture to the wet ingredients, stirring until the dough is fully combined. - Divide and Add Cocoa:
Divide the dough into two portions. Add the cocoa powder and milk to one portion to create the chocolate dough. - Form the Cookies:
Roll both the peanut butter and chocolate dough into small balls, about 1 inch (2.5 cm) in diameter. Place them on the prepared baking sheet, leaving about 2 inches (5 cm) of space between each cookie. - Bake the Cookies:
Bake the cookies for 8-10 minutes, or until the edges are slightly golden and the centers are set but still soft. Be careful not to overbake. - Shape the Buttons (While Hot):
Immediately after removing the cookies from the oven, while they are still hot and soft, use a washed cork to gently press down in the center of each cookie, creating a shallow indent. Use a metal straw to carefully poke four small holes in the center of each cookie to create the button design. Work quickly before the cookies firm up. - Cool the Cookies:
Allow the cookies to cool on the baking sheet for about 5 minutes, then transfer them to a wire rack to cool completely.
Enjoy!

