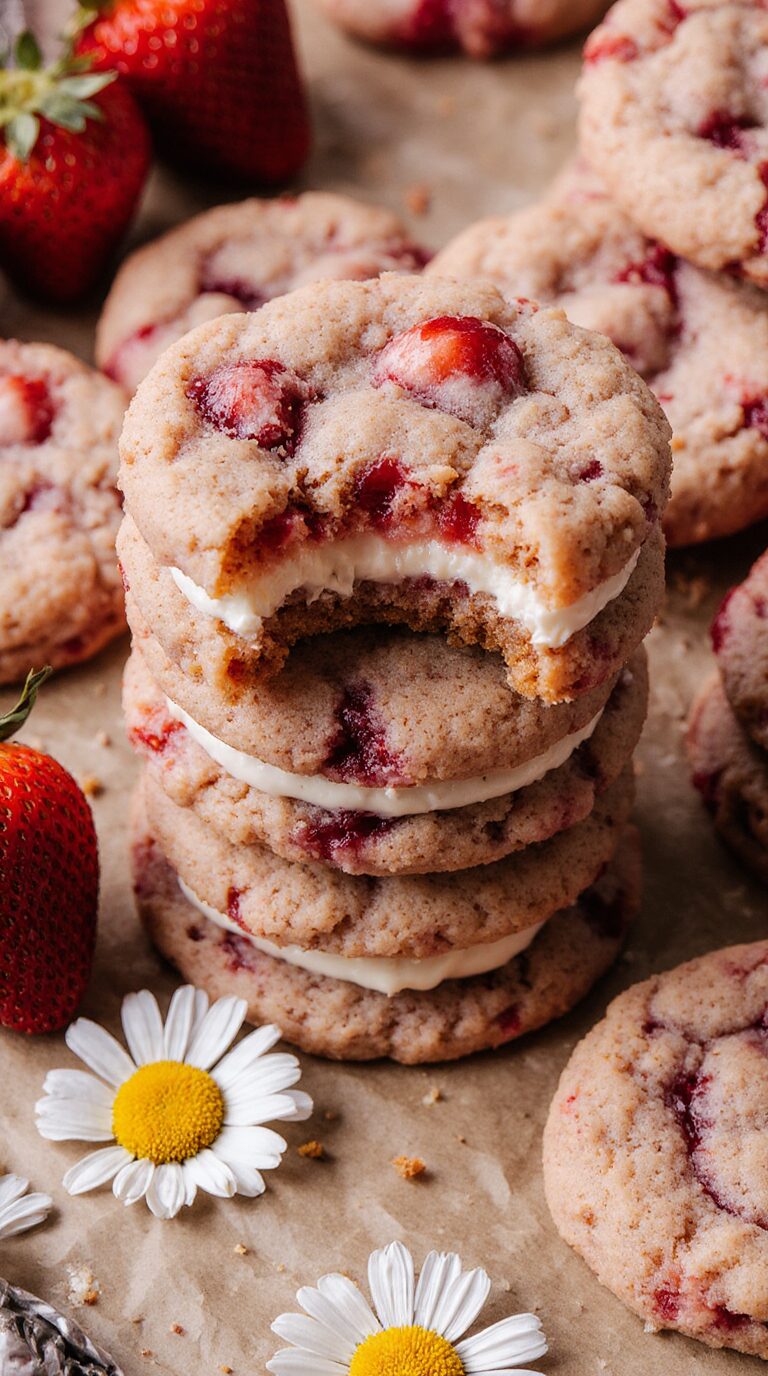
Christmas Sprinkles Whipped Shortbread Cookies – Light, Buttery, and Festive
These Christmas Sprinkles Whipped Shortbread Cookies are delightfully light and buttery, melting in your mouth with each bite. Whipped to perfection, they have a tender texture that sets them apart from traditional shortbread. Decorated with colorful sprinkles, they’re not only delicious but also add a festive touch to your holiday cookie platter. The optional addition of vanilla, lemon, or orange extract enhances the flavor, making these cookies a delightful treat for everyone.
Why You’ll Love This: You’ll adore these cookies for their simplicity and irresistible texture. The whipping process incorporates air, resulting in a cookie that’s both delicate and rich. The recipe is versatile, allowing you to customize the flavorings and decorations to suit your preferences or holiday theme. They’re easy to make yet have a gourmet feel that will impress your friends and family.
Perfect Occasion: Perfect for holiday gatherings, cookie exchanges, or as homemade gifts, these whipped shortbread cookies are a festive addition to any occasion. They’re also great for baking with kids, who will enjoy decorating them with their favorite sprinkles.
Decoration Tips: Feel free to get creative with the toppings. You can use festive nonpareils, colored sugar crystals, or even small edible pearls. For an extra touch, drizzle the cooled cookies with melted chocolate or dust them with powdered sugar. If you prefer, you can press a thumbprint into the center before baking and fill it with jam after baking for a different variation.
Recipe:
Ingredients:
For the Cookies:
- 1 ½ cups salted butter, at room temperature
- ¾ cup confectioners’ (powdered) sugar
- 2 ¼ cups all-purpose flour
- ¾ cup cornstarch
Optional Flavorings and Toppings:
- 2 teaspoons pure vanilla extract, lemon extract, or orange extract
- ¼ cup sprinkles of your choice (e.g., nonpareils)
Instructions:
- Prepare the Dough:
- In a large mixing bowl, beat the room-temperature butter and confectioners’ sugar together using an electric mixer on medium speed for 3-4 minutes, until light and fluffy. This step is crucial for achieving the light texture of the cookies.
- If you’re adding any flavorings (vanilla, lemon, or orange extract), mix them into the creamed butter and sugar until well combined.
- Add Dry Ingredients:
- Sift the all-purpose flour and cornstarch together to remove any lumps.
- Gradually add the sifted dry ingredients to the butter mixture. Beat on low speed just until the ingredients are incorporated. Avoid overmixing to keep the cookies tender.
- Shape the Cookies:
- Using a small cookie scoop or a spoon, portion out the dough into 36 equal pieces. Roll each piece into a ball between your palms.
- Place the dough balls onto a pre-lined baking sheet or a large plate dusted lightly with flour to prevent sticking.
- Gently press the tops of the dough balls with a fork dipped in cornstarch or flour to flatten slightly. Sprinkle the tops generously with your choice of sprinkles.
- Chill the Dough:
- Transfer the cookie dough balls to the refrigerator and chill for about 2 hours, or until they are very firm to the touch. This helps the cookies maintain their shape during baking.
- Pro Tip: To speed up the chilling process, place the dough balls in the freezer until firm.
- Prepare for Baking:
- While the dough is chilling, preheat your oven to 300°F (150°C). Keep the dough balls in the fridge or freezer until the oven is fully preheated.
- Bake the Cookies:
- Arrange the chilled dough balls on a baking sheet lined with parchment paper, spacing them about 2 inches apart. It’s recommended to bake about 12 cookies at a time.
- Bake in the preheated oven for 19-20 minutes, or until the tops look set but not browned. The cookies should remain pale to retain their tender texture.
- Cool and Serve:
- Allow the cookies to cool on the baking sheet for a few minutes before transferring them to a wire rack to cool completely.
- Once cooled, store the cookies in an airtight container to maintain freshness.
Enjoy!

