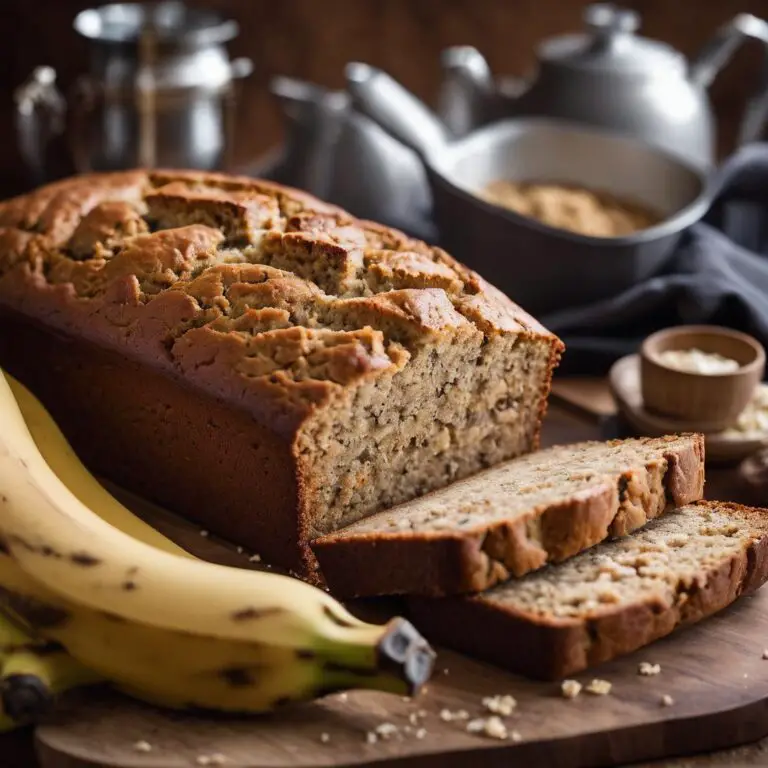
Easy No-Knead Bread: A Simple Recipe for Delicious Homemade Bread
Dive into the joy of homemade bread with this Easy No-Knead Bread recipe, perfect for both beginners and seasoned bakers. This recipe requires no kneading, making it incredibly simple yet yielding a bread that’s crispy on the outside and soft on the inside. The process involves gentle stretching and folding, which helps develop the dough’s structure, creating a beautiful texture. With just a few basic ingredients, you can enjoy the smell of freshly baked bread filling your kitchen. Whether you’re serving it with a meal or enjoying it on its own, this bread is sure to become a household favorite.
Why You’ll Love This:
You’ll love this No-Knead Bread because it’s a fuss-free way to make delicious, artisanal-quality bread at home. The use of fast-action yeast and a simple resting process allows the dough to develop wonderful flavors and texture without the need for intensive kneading. The addition of olive oil gives the bread a rich taste and helps create a beautifully golden, crispy crust. This recipe is versatile and can be easily adapted to suit different occasions, whether you want to bake a large loaf or small individual rolls.
Perfect Occasion:
This No-Knead Bread is perfect for any occasion, from casual family dinners to special gatherings. Serve it warm with a bowl of soup, use it as the base for a hearty sandwich, or simply enjoy it with a spread of butter. It’s also great for breakfast when paired with your favorite jams or preserves. The easy preparation and reliable results make it a fantastic choice for both everyday meals and entertaining guests.
Decoration Tips:
To make your bread even more appealing, consider adding a sprinkle of coarse sea salt or a mix of seeds (such as sesame, poppy, or sunflower) on top before baking. This adds a nice crunch and enhances the visual appeal of the bread. You can also brush the tops with a little extra olive oil right before baking to help achieve a deeper golden color. For a rustic look, score the tops of the bread with a sharp knife in a crisscross pattern just before placing them in the oven.
Ingredients:
- 325 ml lukewarm water
- 3 g fast-action yeast
- 50 ml olive oil
- 425 g strong bread flour
- 10 g salt
Instructions:
- Prepare the Dough: Start by ensuring your water is lukewarm, which helps activate the yeast. In a large mixing bowl, combine the water, yeast, olive oil, strong bread flour, and salt. Use a spatula to mix the ingredients until the dough comes together. The dough will be quite sticky, which is normal for this recipe.
- First Rest: Cover the bowl with a clean cloth or plastic wrap and let the dough rest in a warm place for 30 minutes. This initial rest allows the dough to begin developing its structure.
- First Stretch and Fold: After 30 minutes, lightly wet your hands to prevent sticking. Gently stretch and fold each corner of the dough towards the center, bringing it together. This technique strengthens the dough without kneading. Cover and let it rest for another 30 minutes.
- Second Stretch and Fold: Repeat the stretching and folding process once more, then cover the dough and allow it to rest for another 30 minutes.
- Shape the Dough: After the final rest, generously flour your work surface. Use a floured bench scraper or knife to divide the dough into four equal parts. Shape each portion into a circle, handling the dough as gently as possible to retain the air pockets that will give the bread its light texture.
- Prepare for Baking: Transfer the dough circles to a baking tray lined with parchment paper. Drizzle a bit of olive oil over the top of each piece and use your fingers to create dimples in the dough, which will help create that characteristic rustic appearance.
- Bake: Preheat your oven to 200°C (fan-assisted). Bake the bread until the crust is golden and crispy, which should take about 15-20 minutes. The exact baking time may vary depending on your oven, so keep an eye on the bread as it bakes.
- Cool and Serve: Once baked, remove the bread from the oven and allow it to cool on a wire rack. Serve warm or at room temperature.
Enjoy!


