
The Ultimate Oreo Brookies: A Deep-Dive Guide to the Perfect Hybrid Dessert
If you have ever found yourself standing in the kitchen, torn between the fudgy decadence of a brownie and the nostalgic comfort of a chocolate chip cookie, then the “Brookie” is your culinary soulmate. But we aren’t stopping at a simple two-layer bar today. By introducing a middle layer of crunchy, cream-filled Oreos, we are transforming a standard hybrid into a triple-threat dessert that is as visually stunning as it is delicious.
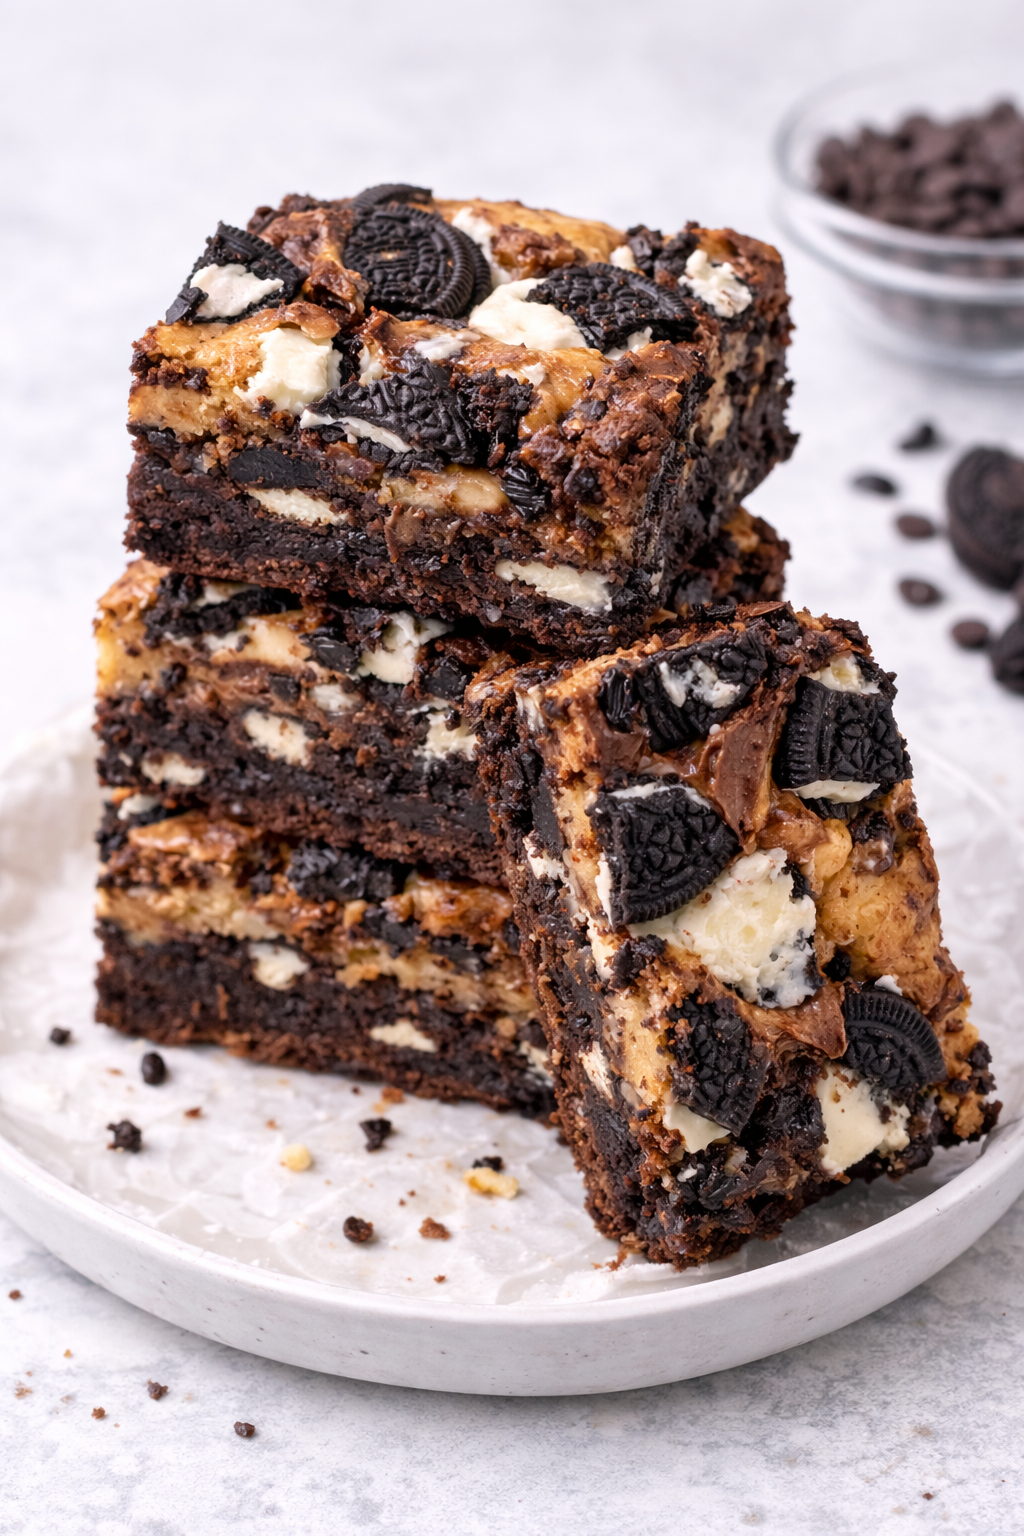
The Oreo Brookie is the king of texture. You have the dense, cocoa-rich base of a brownie, the “snap” of a chocolate sandwich cookie in the center, and a soft, buttery chocolate chip cookie lid. Achieving the perfect balance between these three distinct layers requires more than just stacking them; it requires an understanding of bake times, ingredient temperatures, and the science of “the fudgy middle.”
The Anatomy of an Oreo Brookie
To make a bar that doesn’t fall apart or become overly dry, we have to look at each layer as its own structural component. In this guide, we will break down the chemistry of the brownie, the secret to soft cookie dough, and how to ensure your Oreos stay crunchy even after a trip through the oven.
1. The Fudgy Brownie Foundation
The base of our brookie is a high-fat, low-flour brownie. In baking, flour provides structure (the “cakey” feel), while fat (butter and chocolate) provides moisture and “fudge.” By using only 60g of flour against 120g of butter and 60g of melted chocolate, we are ensuring that the bottom layer remains dense and moist.
We also use a blend of brown and white sugar. White sugar provides those classic “crackly” brownie tops, while brown sugar adds molasses, which keeps the base from drying out during the relatively long 45-minute bake time.
2. The Oreo Insulation
The middle layer serves as a barrier. By placing 1-2 packs of Oreos across the brownie batter before adding the cookie dough, we create a distinct “crunch zone.” As the brownie bakes, it rises up around the Oreos, effectively “locking” them into place.
3. The Chocolate Chip Cookie Lid
The top layer is a classic cookie dough. We use 80g of softened butter and 100g of brown sugar to ensure the top stays soft and chewy. If we used only white sugar on top, the cookie layer would become too hard and brittle, making the bars difficult to slice.
Detailed Ingredient Breakdown
To get that professional-grade result, you need to know exactly what you are working with.
Brownie Layer Ingredients
- 120g Softened Butter: Use unsalted butter so you can control the salt levels yourself.
- 150g White Sugar & 50g Brown Sugar: This 3:1 ratio creates the perfect balance of sweetness and moisture.
- 2 Eggs: These act as the emulsifier, bringing the fat and the cocoa together.
- 2 tbsp Vanilla Extract: A high amount of vanilla is the secret to making “bakery-style” chocolate treats.
- 40g Cocoa Powder: Use unsweetened Dutch-process cocoa for a dark, rich color.
- 60g Dark Chocolate: Melted chocolate adds a richness that cocoa powder alone cannot achieve.
- Leavening & Structure: 60g flour, 1/2 tsp baking powder, and a pinch of salt.
Cookie Dough Layer Ingredients
- 80g Softened Butter: Ensure this is “pliable” but not melted.
- 100g Brown Sugar: The molasses in brown sugar is what gives the cookie layer its “chew.”
- 1 Egg & 1 tsp Vanilla: To bind the dough and add aroma.
- 120g Flour: Just enough to create a dough that holds its shape.
- Chocolate Chips: As many as your heart desires!
Step-by-Step: The Assembly Masterclass
Phase 1: The Brownie Base
Preheat your oven to 180°C (350°F). Line an 8×8 inch square pan with parchment paper.
In a large bowl, cream your butter and sugars until smooth. Whisk in the eggs and vanilla. Melt your 60g of dark chocolate (in 20-second bursts in the microwave) and stir it into the mix. Sift in the flour, cocoa powder, baking powder, and salt. Fold gently until just combined. Spread this into the bottom of your prepared pan.
Phase 2: The Oreo Layer
This is the most satisfying part. Take your Oreos and lay them side-by-side on top of the raw brownie batter. You should be able to fit about 16 Oreos (a 4×4 grid) in a standard square pan. Press them down slightly so they “nestle” into the brownie batter.
Phase 3: The Cookie Dough Topping
In a separate bowl, cream the butter and brown sugar. Add the egg and vanilla. Fold in the flour, baking powder, salt, and chocolate chips.
Because this dough is thick, you cannot “pour” it over the Oreos. Instead, take small clumps of dough in your hands, flatten them slightly, and place them over the Oreos like a patchwork quilt. It’s okay if there are small gaps; the dough will spread and merge as it bakes.
Phase 4: The Long Bake
Bake at 180°C for 40–45 minutes. This is longer than a standard brownie because we have three distinct layers to cook through. You are looking for the cookie top to be a light golden brown and the brownie base to be set.
Frequently Asked Questions (Q&A)
How do I know when they are done? The “toothpick test” is tricky here because of the Oreo filling. Instead, look at the edges of the pan. The brookies should be starting to pull away slightly from the sides of the parchment paper, and the cookie top should no longer look “wet” or shiny.
Can I use Double Stuf Oreos? Yes! In fact, Double Stuf Oreos work beautifully because the extra cream filling melts slightly into the brownie and cookie layers, creating an even gooier center.
Why did my cookie layer get too hard? This usually happens if you overmeasure the flour or if you used only white sugar. Make sure to use brown sugar in the cookie dough to keep it soft. Also, ensure you don’t bake past the 45-minute mark.
How do I get those perfect, clean squares? Patience is key. You must let these cool completely in the pan. I actually recommend putting them in the fridge for an hour after they reach room temperature. Cold brookies slice much cleaner, allowing you to see the distinct layers of brownie, Oreo, and cookie.

Triple-Layer Oreo Brookies
Ingredients
Ingredients
Layer 1: The Brownie Base
- 120 g Unsalted butter softened
- 150 g White sugar
- 50 g Brown sugar
- 2 Large eggs
- 2 tbsp Vanilla extract
- 150 g Dark chocolate melted (60g for the batter, plus extra for chunks)
- 60 g All-purpose flour
- 40 g Cocoa powder
- 1/2 tsp Baking powder
- Pinch of salt
- Layer 2: The Middle
- 1-2 Packs of Oreo cookies approx. 16–20 cookies
- Layer 3: The Cookie Dough
- 80 g Unsalted butter softened
- 100 g Brown sugar
- 1 Large egg
- 1 tsp Vanilla extract
- 120 g All-purpose flour
- 1/2 tsp Baking powder
- Pinch of salt
- 1/2 cup Chocolate chips
Instructions
- Prep: Preheat oven to 180°C and line an 8×8 inch square pan with parchment paper.
- Brownie Layer: Cream the butter and sugars. Add eggs and vanilla, then stir in the melted chocolate. Fold in the flour, cocoa, baking powder, and salt. Spread evenly into the pan.
- Oreo Layer: Place a single layer of Oreos directly on top of the brownie batter, pressing them in slightly.
- Cookie Layer: In a separate bowl, cream butter and brown sugar. Add egg and vanilla. Fold in flour, baking powder, salt, and chocolate chips.
- Assemble: Drop spoonfuls of cookie dough over the Oreos and gently flatten them to cover the gaps.
- Bake: Bake for 40–45 minutes until the cookie top is golden.
- Cool: Let cool completely in the pan before lifting out and slicing into squares.
Notes
- Storage: Store in an airtight container for up to 4 days at room temperature, or freeze for up to a month.
- Serving: These are incredible when served warm with a scoop of vanilla bean ice cream!