Easy 4-Ingredient Oreo Balls (No Cream Cheese or Condensed Milk!)
These no-bake Oreo balls are a game-changer for when you need a quick, crowd-pleasing treat. Made with just four simple pantry ingredients—and no cream cheese or sweetened condensed milk—they’re proof that you don’t need complicated components to make something elegant and delicious.
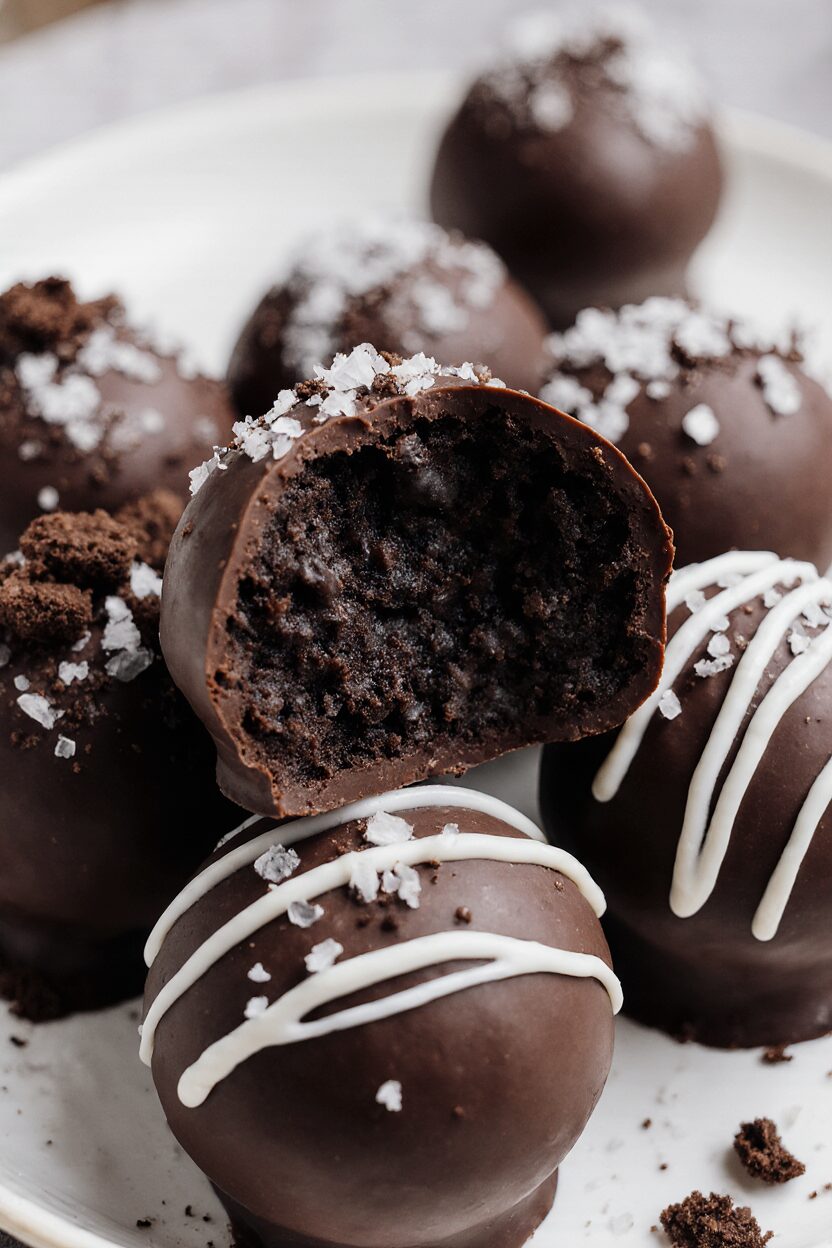
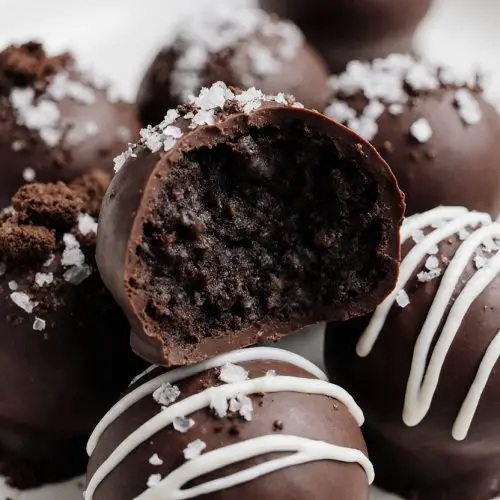
Each bite is chocolatey, crisp on the outside, soft and fudgy in the middle, and tastes like a truffle made by a chocolatier. But the best part? These Oreo balls take just a few minutes to make. No baking. No chilling between steps. No fancy tools. Just crush, mix, shape, dip, and go.
Whether you’re prepping treats for a party, holiday, dessert table, or just want something sweet and chocolatey to enjoy during the week, these Oreo balls are the easiest low-effort dessert with maximum payoff.
Why You’ll Love These Oreo Balls
- No Cream Cheese or Condensed Milk: They hold together beautifully using common pantry ingredients instead.
- Quick and Simple: Minimal prep, no baking, and no chilling between steps.
- Only 4 Ingredients: It doesn’t get easier than this.
- Great for Gifting or Parties: Pretty, portable, and always a hit with crowds.
- Customizable: Add extracts, decorate with drizzle, or use fun sprinkles for any occasion.
Ingredients You’ll Need (and Why)
Oreo Cookies
These are the base of the entire recipe. The cookies are crushed into a fine crumb that binds the mixture and provides rich, chocolatey flavor. Because you’re using the full Oreo (filling and all), it naturally helps hold everything together without the need for cream cheese.
Milk (or any milk alternative)
Just a splash of milk adds moisture and binds the cookie crumbs into a pliable dough. It helps soften the crushed cookies just enough to roll into balls while keeping the texture rich, not runny.
Vanilla or Chocolate Pudding Mix (dry powder)
This is the secret to creating structure and flavor without cream cheese. The instant pudding mix helps absorb moisture, thickens the mixture, and adds an ultra-smooth, truffle-like texture. It also adds extra chocolatey (or vanilla) depth to the center.
Melting Chocolate or Chocolate Chips
Used for dipping the Oreo balls, this forms a smooth, glossy shell around each truffle. It hardens beautifully, adding snap, contrast, and visual appeal. You can use dark, milk, or white chocolate depending on your preference.
How to Make These Oreo Balls
Step 1: Crush the Oreos
Place Oreo cookies in a food processor or sealed zip-top bag and crush into fine crumbs. You want a uniform, sand-like texture—no chunks.
Step 2: Mix the Dough
Transfer crumbs to a bowl. Add dry pudding mix and a splash of milk. Mix everything together until a dough forms. The mixture should be soft but firm enough to roll. If it feels too dry, add a tiny bit more milk.
Step 3: Shape into Balls
Use a cookie scoop or tablespoon to portion out the dough. Roll into smooth balls and place on a parchment-lined tray. You should get about 16–18 depending on size.
Step 4: Melt the Chocolate
Melt chocolate in a microwave-safe bowl in 20-second intervals, stirring between each, until smooth and glossy.
Step 5: Dip and Set
Dip each Oreo ball into the melted chocolate using a fork or dipping tool. Let excess drip off, then place on parchment. Decorate with sprinkles, crushed cookies, or a drizzle of contrasting chocolate if desired.
Step 6: Chill and Serve
Let the chocolate harden at room temp or speed things up in the fridge. Once set, transfer to an airtight container.
Tips for Success
- Use good-quality chocolate if possible—melting wafers work great, but chocolate chips also do the job.
- Crush cookies finely so your mixture is smooth and easy to shape.
- Adjust the milk depending on how dry or moist your Oreos are. Add just enough to form a moldable dough.
- Decorate right after dipping—before the chocolate sets—so toppings stick.
- Store in the fridge for best texture and longer shelf life.
Storage Instructions
Store Oreo balls in an airtight container in the refrigerator for up to 1 week. The chocolate coating helps seal in freshness. For longer storage, freeze for up to 2 months. Thaw in the fridge overnight or on the counter for 30 minutes.
These are perfect for gifting—pack them in mini cupcake liners or decorative tins!
Enjoy!
With just four ingredients and minimal effort, these no-bake Oreo balls deliver maximum flavor and texture in a bite-sized treat. Fudgy, creamy, chocolatey, and endlessly customizable, they’re a favorite for holidays, parties, and last-minute sweet cravings. Once you make them, you’ll always keep Oreos on hand—just in case.
4-Ingredient Oreo Balls Without Cream Cheese
Ingredients
- 20 Oreo cookies
- 1 –2 tbsp milk
- 2 tbsp instant vanilla or chocolate pudding mix dry
- 1 cup melting chocolate or chocolate chips for coating
Instructions
- Crush Oreos into fine crumbs using food processor or sealed bag + rolling pin.
- Mix in dry pudding mix and 1 tablespoon milk. Stir until a dough forms, adding more milk if needed.
- Scoop and roll into balls. Place on parchment-lined tray.
- Melt chocolate until smooth.
- Dip each Oreo ball into melted chocolate. Let excess drip off and place back on parchment.
- Decorate if desired. Chill until chocolate sets.
Notes
- Store in fridge up to 1 week or freeze up to 2 months.
- Use vanilla pudding for a lighter center or chocolate for rich flavor.
- Great with white chocolate, crushed peppermint, or chopped nuts.