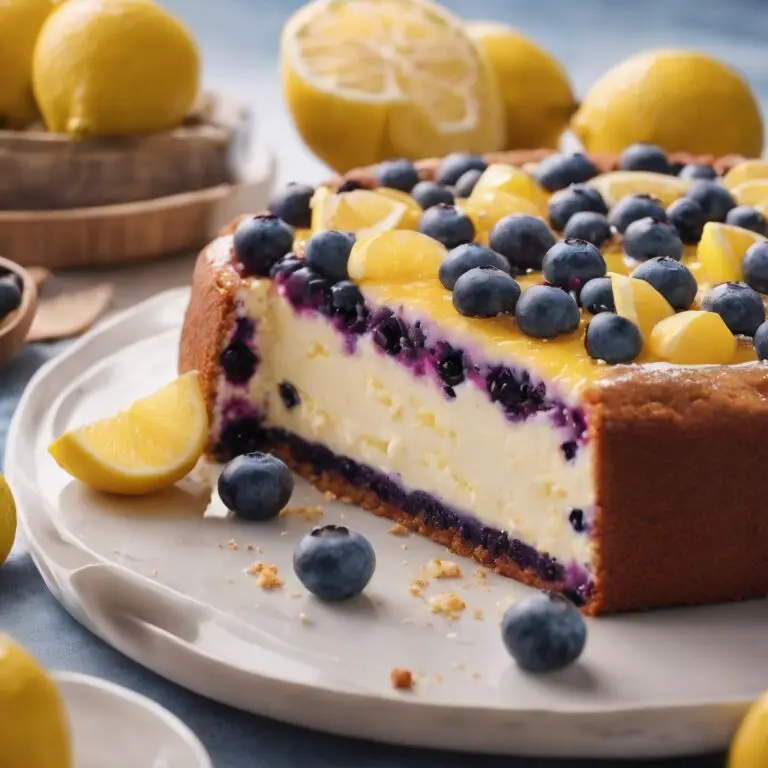
Luscious Cheesecake Tiramisu: The Perfect Marriage of Two Classic Desserts
Dive into the rich, creamy indulgence of this Luscious Cheesecake Tiramisu. Combining the smooth, tangy essence of cheesecake with the robust, coffee-infused layers of tiramisu, this dessert offers a delightful fusion that is both sophisticated and comforting. With a crunchy biscuit base, a velvety mascarpone filling, and layers of coffee-soaked ladyfingers, this treat is a true celebration of flavors and textures.
Why You’ll Love This: This Cheesecake Tiramisu takes the best elements of two beloved desserts and blends them into one irresistible creation. The buttery biscuit base provides a perfect contrast to the creamy mascarpone filling, while the coffee-soaked ladyfingers add a delightful hint of bitterness that balances the sweetness. Each bite is a harmonious blend of flavors that will satisfy your sweet tooth and impress your guests. It’s an elegant yet approachable dessert that is perfect for any occasion.
Perfect Occasion: This luxurious dessert is ideal for special occasions such as birthdays, anniversaries, or dinner parties. Its sophisticated appearance and rich flavor make it a show-stopping centerpiece for any celebration. Whether you’re hosting a formal gathering or a casual get-together, this Cheesecake Tiramisu is sure to be a hit. It also makes a wonderful treat for holiday dinners, adding a touch of elegance to your festive table.
Decoration Tips: To elevate the presentation, dust the top of the cheesecake tiramisu with a generous layer of unsweetened cocoa powder just before serving. You can also add chocolate shavings or a few coffee beans for an extra touch of sophistication. Serving it on a beautiful cake stand or decorative platter will make it even more visually appealing. For an added flair, consider garnishing each slice with a dollop of whipped cream and a sprinkle of cocoa powder.
Ingredients:
For the Base:
- 300 grams of plain biscuits (such as digestive)
- 140 grams of melted butter
For the Cream:
- 5 egg yolks
- 25 grams of sugar
- 500 grams of mascarpone cheese
- 250 grams of heavy cream
- 50 grams of milk
- 8 grams of gelatin
For the Sugar Syrup:
- 50 grams of water
- 50 grams of sugar
For Soaking and Decoration:
- 120 grams of espresso coffee
- 8-9 ladyfingers
- Unsweetened cocoa powder, as needed
Instructions:
- Prepare the Base:
- Crush the biscuits in a food processor until fine.
- Combine the crushed biscuits with the melted butter until well mixed.
- Line a 22 cm springform pan or a cake ring with parchment paper.
- Press the biscuit mixture into the bottom and up the sides of the pan to form the base.
- Chill in the refrigerator until firm.
- Make the Cream:
- Whip the heavy cream in a bowl until stiff peaks form. Refrigerate until needed.
- In a separate bowl, mix the egg yolks with 25 grams of sugar until well combined.
- Prepare the sugar syrup by heating 50 grams of water with 50 grams of sugar in a small saucepan until it reaches 248°F (119°C).
- Slowly pour the hot sugar syrup into the egg yolk mixture while beating with an electric mixer for 3-4 minutes, until thick and fluffy.
- Gradually add the mascarpone cheese to the egg yolk mixture, mixing until smooth.
- Gently fold the whipped cream into the mascarpone mixture with a spatula, being careful not to deflate it.
- Soften the gelatin in cold water, then dissolve it in the warm milk.
- Add the milk mixture to the mascarpone cream and mix well.
- Assemble the Cheesecake Tiramisu:
- Pour half of the mascarpone cream over the chilled biscuit base and smooth the surface.
- Dip the ladyfingers in the espresso coffee and layer them over the cream.
- Spread the remaining mascarpone cream over the ladyfingers and smooth the top.
- Chill in the refrigerator for at least 3-4 hours, or until set.
- Decorate and Serve:
- Before serving, dust the top with unsweetened cocoa powder.
- Optionally, garnish with chocolate shavings or coffee beans.
Enjoy!

