Ingredients:
- 240g plain flour (gluten-free variety if preferred)
- 2 tablespoons caster sugar (extra for topping)
- 220g cold dairy-free block butter, diced
- Ice-water (as needed)
- 1 jar cherry jam or conserve
- 4 tablespoons dairy-free milk
- 40g dairy-free chocolate (white or dark)
- Optional: Edible glitter
- Optional: Icing sugar for dusting
Instructions:
For the Pastry:
- In a bowl, sift together flour and caster sugar. Incorporate the cold, diced butter until mixture resembles breadcrumbs. This can be done either manually or using a food processor.
- Gradually introduce ice-water, about 1/2 tablespoon at a time, until a cohesive dough forms. It should be smooth, slightly tacky, but not overly moist or dry.
- Encase the dough in grease-proof paper and refrigerate for 30 minutes or until solid enough to roll without sticking.
- Preheat the oven to 170°C (fan-assisted) and ready two baking trays with parchment paper.
- On a floured work surface between two sheets of parchment, roll the dough into a large rectangle. Cut into diamond shapes, each side measuring approximately 12cm.
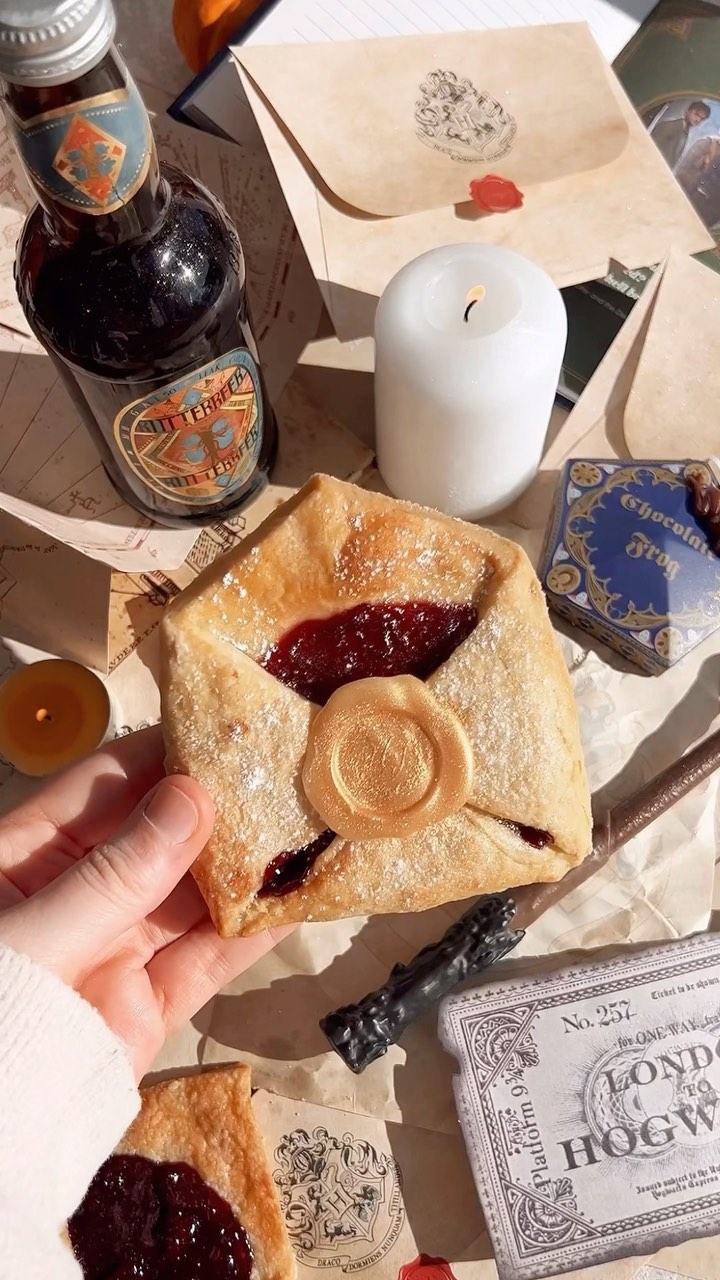
- Add a teaspoon of cherry jam in the center of each diamond. Brush the pastry edges with dairy-free milk. Fold three corners (two sides and bottom) to the center, forming an open envelope shape. Ensure edges are sealed. Alternatively, fold all corners for a closed envelope look.
- Lightly brush the top of each pastry with dairy-free milk, followed by a sprinkle of caster sugar for a glistening, golden finish.
- Bake for 20-25 minutes until pastries turn a lovely golden brown.
- Once done, allow them to cool. Note: Pastries may feel soft right out of the oven but will harden as they cool.
For the Chocolate Seal:
- Prepare a bain-marie by filling a saucepan 1/4 full with water over medium heat. In a heatproof bowl, melt dairy-free chocolate over the saucepan.
- After melting and cooling slightly, deposit small chocolate dollops onto a plate lined with parchment. Aim for small circular shapes.
- If available, use a pre-frozen letter stamp to imprint the chocolate. If you don’t have a stamp, craft imperfect circles for a rustic look.
- Embellish your chocolate seals with edible glitter or a stroke of edible gold paint. Allow to solidify.
- Attach the chocolate seals onto the pastries using a dab of melted chocolate.
- Optionally, dust with icing sugar before serving. Enjoy your delicious creations!